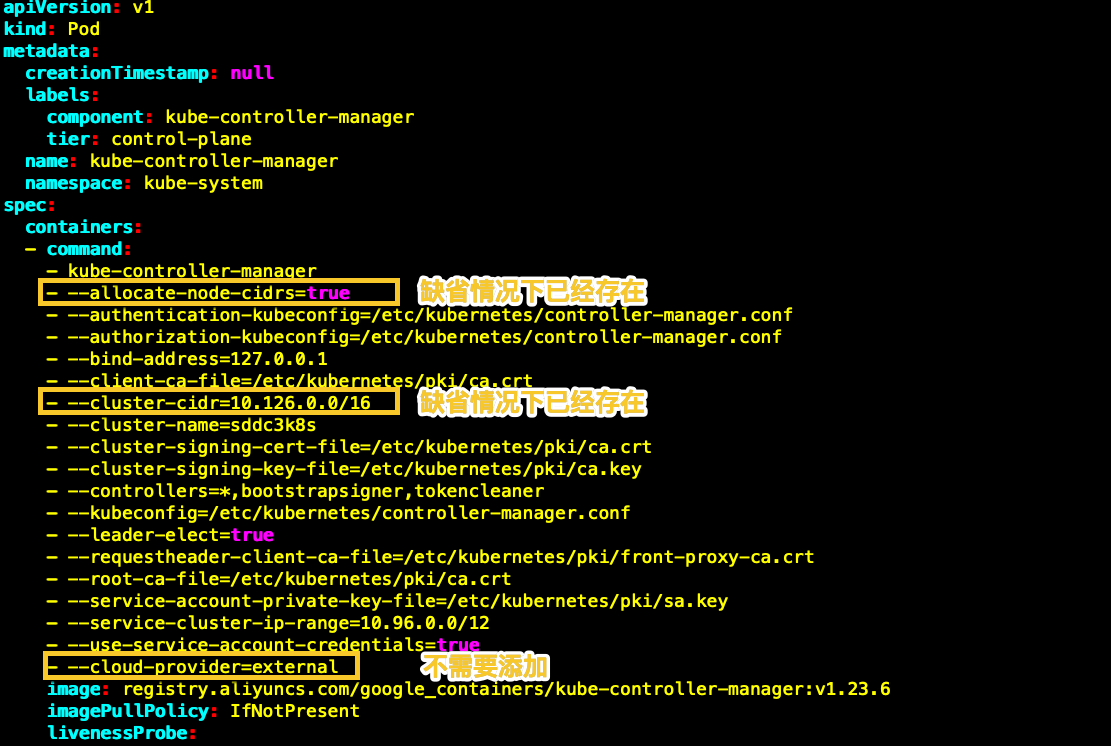
确认集群参数(Controller manager)
缺省情况下不需要做任何修改,标记部分的参数已经存在。(cloud-provider=external经测试无需添加),如果环境有差异,请修改如下参数。
| root@m01:~# vi /etc/kubernetes/manifests/kube-controller-manager.yaml |
 |
Antrea 安装
Antrea的基本安装属于常规操作,本文不再赘述,确保如下参数开启即可
| trafficEncapMode: noEncapnoSNAT: true
AntreaProxy: true |
创建CPI configMap
# 添加vsphere.conf 文件
| root@m01:~# vi vsphere.conf |
| [Global]user = “administrator@vmwlab.net”
password = “xxxx” port = “443” insecure-flag = “1” secret-name = “cpi-engineering-secret” secret-namespace = “kube-system”
[VirtualCenter “192.168.60.17”] datacenters = “SDDC3”
[Workspace] server = “192.168.60.17” datacenter = “SDDC3”
[Route] router-path = /infra/tier-1s/T1-GW02
[NSXT] user = admin password = xxxx insecure-flag = true host = 192.168.60.18
[Disk] scsicontrollertype = pvscsi
[Network] public-network = “VM Network” |
| # 以下选项,无需修改 |
| scsicontrollertype = pvscsi |
| public-network = “VM Network” |
| # 部分选项含义 |
| Insecure-flag:是否检查证书,1为不检查。 |
| router-path = Policy 模式下的Path |
 |
# 创建 configmap
| root@m01:~# kubectl create configmap cloud-config –from-file=vsphere.conf –namespace=kube-system |
| # 查看 configmap |
| root@m01:~# kubectl get configmap cloud-config –namespace=kube-system |
# 创建secret
| root@m01:~# vi secret.yaml |
| apiVersion: v1kind: Secret
metadata: name: cpi-engineering-secret namespace: kube-system stringData: 192.168.60.17.username: “administrator@vmwlab.net” 192.168.60.17.password: “x x x x” |
| root@m01:~# kubectl apply -f secret.yaml |
| root@m01:~# kubectl get secret -n kube-system | grep cpi |
通过Helm安装CPI
# Helm安装
| curl -fsSL -o get_helm.sh https://raw.githubusercontent.com/helm/helm/main/scripts/get-helm-3chmod 700 get_helm.sh
./get_helm.sh source <(helm completion bash) echo “source <(helm completion bash)” >> ~/.bashrc |
| 其它安装方法请参阅官网 |
| https://helm.sh/docs/intro/install/ |
# 获取CPI Chart
| (Option1) 安装最新版本(当前最新版本为1.24.1) |
| helm repo add vsphere-cpi https://kubernetes.github.io/cloud-provider-vspherehelm repo update
helm pull vsphere-cpi/vsphere-cpi tar xvf vsphere-cpi-1.24.1.tgz |
| (Option2)安装指定版本(本文使用1.23.1) |
| https://github.com/kubernetes/cloud-provider-vsphere/releases 下载地址 |
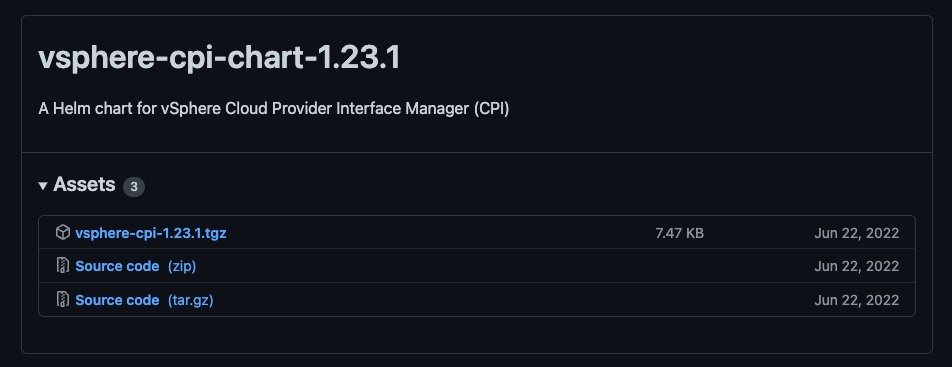 |
| 下载 vsphere-cpi-1.23.1tgz,并上传至安装节点解压 |
# 安装CPI
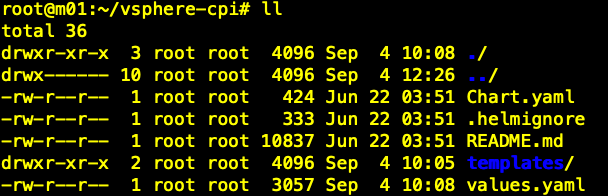
| 解压后会出现如下文件夹 |
| root@m01:~# ll |
| drwxr-xr-x 3 root root 4096 Sep 4 10:08 vsphere-cpi/ |
| root@m01:~# cd vsphere-cpi/ |
 |
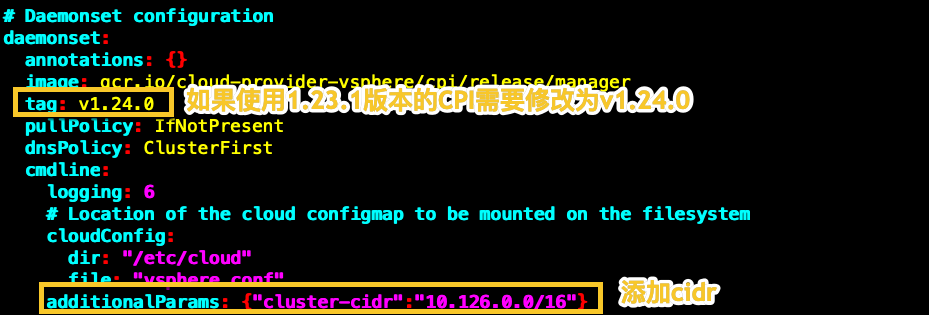
| root@m01:~# vi values.yaml |
 |
| root@m01:~/vsphere-cpi# helm install vsphere-cpi . –namespace kube-system –set service.enabled=false |
| 注意: |
| image: gcr.io/cloud-provider-vsphere/cpi/release/manager在values.yaml中的Daemonset部分的Image下载需要通过互联网完成,如果无法访问,需要修改此处为本地仓库。具体方法可参考6.2 |
检查
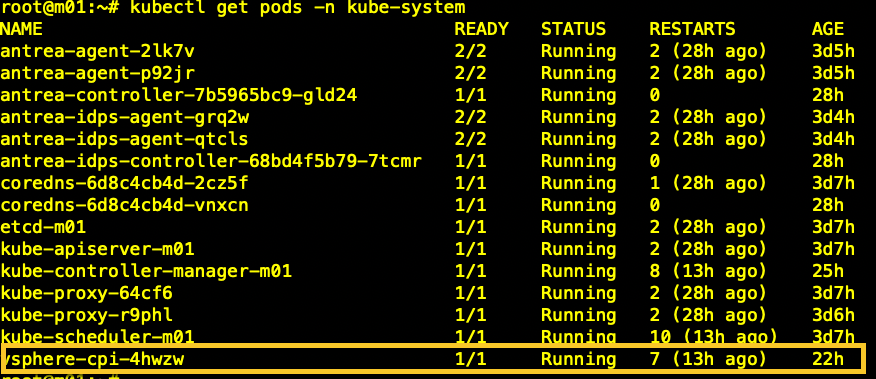
# 通过CLI检查Pod的状态
| kubectl get pods -n kube-system |
 |
# 通过CLI检查Pod的日志,用于排错
| kubectl -n kube-system logs vsphere-cpi-4hwzw |
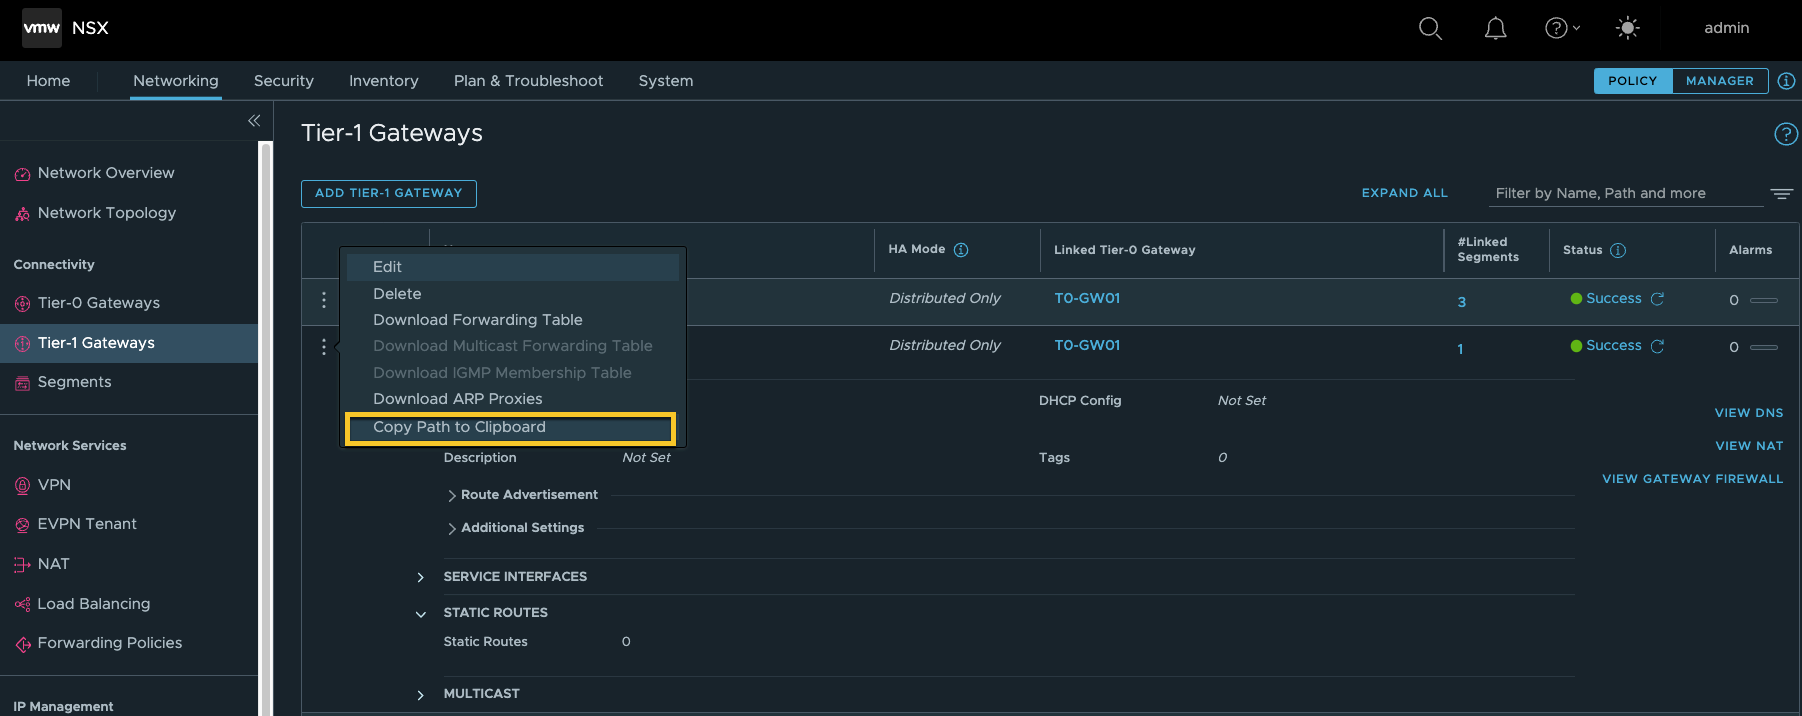
# 在NSX-T上确认路由已经添加